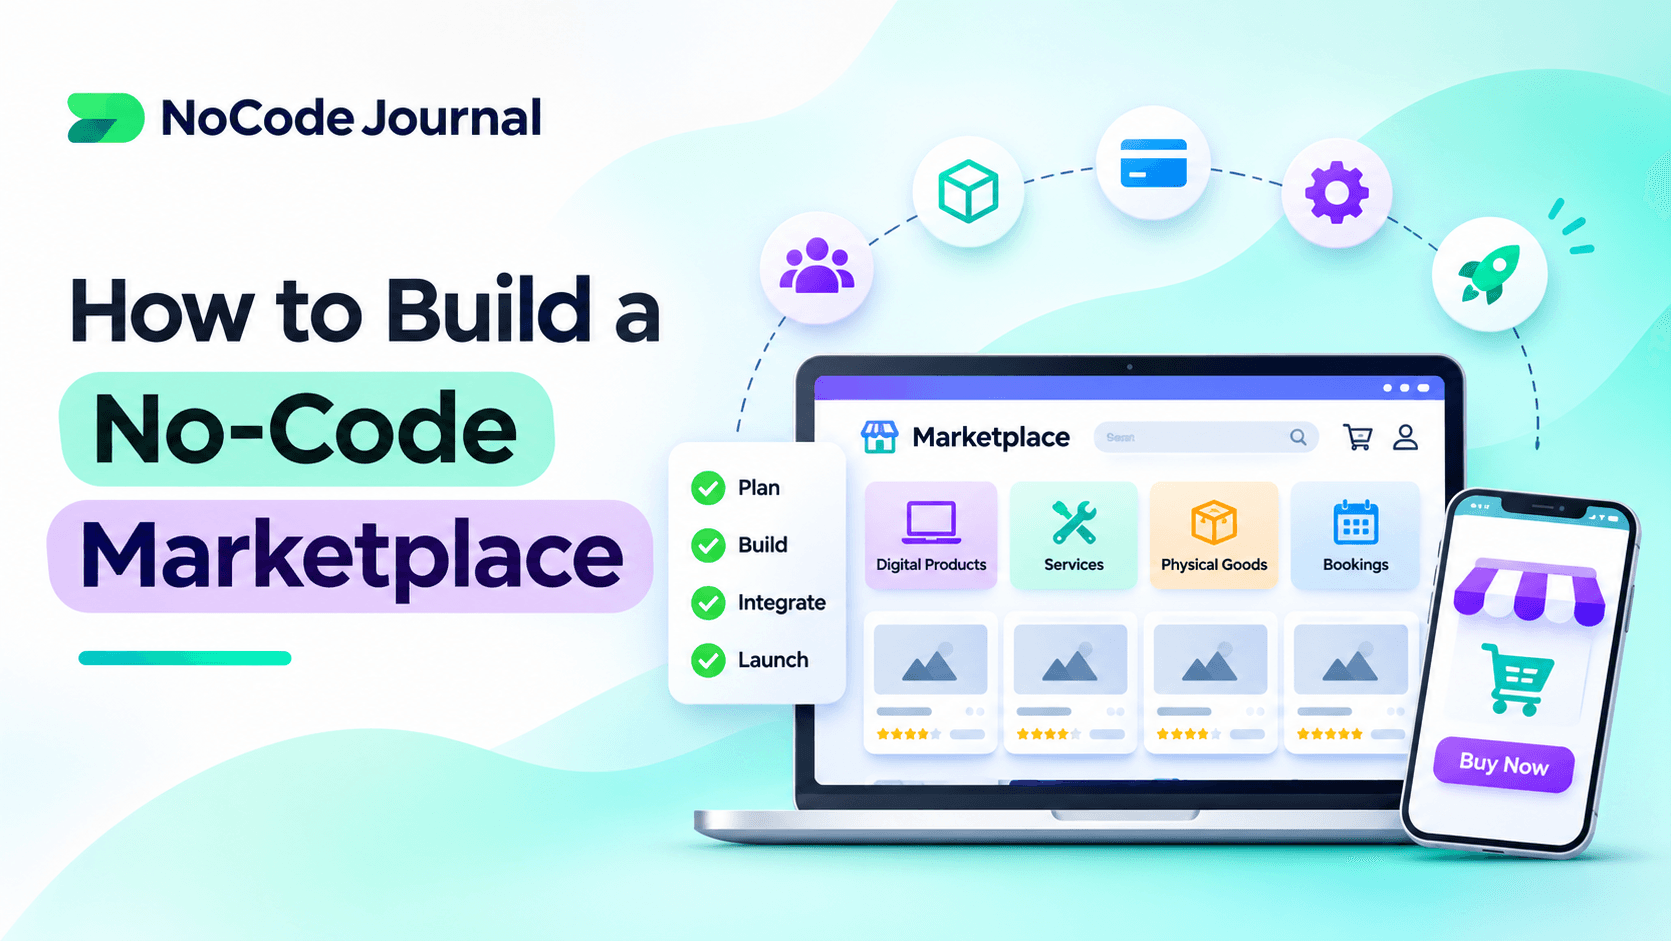
How to Build a No-Code Marketplace

How to Build a No-Code Marketplace

No-Code Guides & Resources9 min readPublished Manish Balakrishnan

Learn how to build a no-code marketplace with key steps for choosing tools, creating listings, managing payments, and launching confidently.

Building an online marketplace once required a development team, substantial funding, and months of technical work. Today, no-code platforms allow entrepreneurs to create marketplaces using visual editors, databases, and ready-made integrations.

However, launching a successful marketplace involves more than selecting a website template. You must attract two groups of users, establish trust, and make transactions straightforward. This guide explains how to build a no-code marketplace, from validating your niche to launching, measuring performance, and preparing for growth.

What Is a No-Code Marketplace?

A no-code marketplace is an online platform built primarily through visual development tools, rather than traditional programming. It connects independent providers with customers who want to purchase products, book services, or rent assets.

Examples include local service directories, freelance platforms, equipment rental sites, and communities selling digital products. Unlike an ordinary online store, a marketplace usually allows multiple sellers to create listings and manage their own offers.

No-code development reduces the technical barrier to entry, but platform capabilities differ. Some builders provide marketplace features out of the box, while others require integrations and careful workflow configuration.

Step 1: Choose a Specific Marketplace Niche

Begin with a focused problem rather than a broad ambition to compete with established platforms. A marketplace for independent music teachers in one city is easier to launch than a global marketplace for every professional service.

Identify who your buyers are, what they need, and why current options disappoint them. Then investigate potential sellers. Ask how they find customers, what fees they already pay, and whether they would maintain listings on another platform.

Look for a clear advantage, such as specialized inventory, better verification, convenient booking, or stronger local relationships.

It is creating enough relevant supply and demand within one manageable category.

Step 2: Validate Demand Before Building

Before investing in software, interview prospective buyers and sellers. Avoid leading questions such as whether people love your idea. Instead, ask about their most recent transaction, frustrations, spending, and alternatives.

You can use no-code tools for beginners to assemble a page, form, and contact list quickly.

Consider manually matching a few customers with providers.

Measure meaningful signals: qualified seller interest, buyer inquiries, completed introductions, and willingness to pay. Email signups are encouraging, but actual transactions provide stronger evidence that the concept can work.

Step 3: Decide How the Marketplace Will Earn Revenue

Your revenue model influences the features you need and the expectations of your users. Commission-based marketplaces retain a percentage or fixed fee from eligible transactions. Subscription models charge sellers for access, while listing fees and promoted placements offer other potential income streams.

Choose an approach that matches the value you deliver. A new marketplace may struggle to charge high upfront fees before buyers arrive. Transaction commissions can align revenue with successful sales, although payment processing and support costs reduce margins.

Calculate a simple unit economics model using average order value, platform fees, refunds, acquisition costs, and expected repeat purchases. Decide who pays payment fees and how cancellations affect commissions.

Step 4: Select the Right No-Code Platform

Your platform choice determines how easily you can customize listings, control permissions, and expand later. Marketplace-oriented services such as Sharetribe can suit conventional rental, product, and service models. Bubble supports more customized applications with visual workflows and database structures.

Softr and Glide may fit directory-style experiences or simpler internal workflows, depending on current features and transaction requirements. Compare several no-code app builders instead of choosing solely on price or attractive templates.

Evaluate seller accounts, search filters, booking logic, payments, messaging, mobile responsiveness, integrations, security, and data export options. Check whether essential features require paid plans or additional services.

A fast prototype is valuable, but changing platforms after accumulating users and orders can be difficult.

Step 5: Map the Minimum Viable Product

A minimum viable product, or MVP, contains the smallest set of capabilities needed for a real transaction. Most marketplaces require buyer and seller accounts, listings, search, a transaction or inquiry flow, and basic administration.

Service marketplaces might require availability calendars and booking requests. Product marketplaces may need inventory, shipping information, and order status tracking. A directory could begin with inquiries instead of integrated payments.

Sketch the journey from discovery to completion for both sides. A buyer should find a relevant listing, understand the offer, contact or purchase from the seller, and receive confirmation. Sellers should know how to register, publish, respond, and get paid.

Avoid building loyalty points, complicated recommendations, or advanced analytics before validating the main experience.

Step 6: Design a Simple Database

Common database tables include Users, Seller Profiles, Listings, Categories, Orders, Reviews, and Messages. Each record should have a unique identifier and clearly defined relationships.

For example, each listing belongs to a seller, and each order connects a buyer with a listing. Store transaction status separately from payment confirmation to make reconciliation easier.

Define required fields, such as listing title, price, description, availability, category, and images. Set rules for editing and deleting records. Establish who can access private customer information.

Whether you use a built-in database or an external service, document the structure early. Good data modeling prevents duplicate records and confusing workflows as your marketplace grows.
Step 7: Build Buyer and Seller Experiences

Design a straightforward interface with clear navigation and readable listings. Buyers should immediately understand what the marketplace offers, how to search, and what happens after they make a request.

Provide filters that reflect genuine purchasing decisions, such as location, category, price, availability, or service type. Display accurate descriptions, relevant photographs, seller information, and transparent pricing.

For sellers, create a short onboarding process and an easy listing form. Explain which information is mandatory, how approval works, and when listings become visible.

Use mobile-friendly layouts, accessible controls, and helpful error messages. Test every important screen on a phone, even when your primary product is a website.

Step 8: Configure Payments and Marketplace Rules

Payments are a critical distinction between a marketplace and an ordinary website. A marketplace may need to collect money from buyers, deduct commission, and arrange payouts to independent sellers.

Stripe Connect supports platform and marketplace payment flows, including connected accounts and payouts, subject to country and product availability. Confirm that your no-code builder supports the required integration and payment model before promising automated split payments.

Plan for identity verification, fees, refunds, disputes, canceled orders, and failed payouts. Never assume that holding customer funds or offering escrow is automatically permitted.

Test the complete payment journey in a sandbox environment, including unsuccessful transactions. Consult qualified advisers about local tax, consumer protection, and legal obligations where appropriate.

Step 9: Automate Essential Workflows

Once basic transactions work, use automation to remove repetitive administration. Useful workflows include welcome emails, listing approval alerts, booking confirmations, order updates, and reminders for incomplete seller profiles.

Workflow automation platforms can connect compatible services without extensive custom programming. Still, every automation needs a clear trigger, action, and failure-handling process.

For example, sending an order confirmation should depend on verified order status, not simply a user clicking a button. Prevent duplicate messages, test retries, and record important errors.

Keep human oversight for disputes, suspicious listings, and exceptional payments. Automation should reduce routine effort without removing accountability or creating confusing experiences for customers.

Step 10: Build Trust and Protect User Data

Buyers and sellers need confidence that your platform treats them fairly. Publish clear terms, privacy information, fees, cancellation policies, and support channels. Consider seller verification and reviews tied to completed transactions.

Apply role-based permissions so sellers cannot view other sellers' private records and buyers cannot access unrelated orders. Secure administrator accounts, restrict integration credentials, and collect only necessary personal information.

Establish procedures for reporting misleading listings, responding to disputes, and removing abusive accounts. Review the privacy controls offered by your platform and test them using different account types.

Trust is not simply a branding exercise. It is built through accurate information, consistent policies, responsive support, and dependable transactions.

Step 11: Test Before Launching

Invite a small group of buyers and sellers to complete realistic tasks. Ask them to register, create listings, search, place requests, make test payments, and receive notifications without your guidance.

Look for unclear instructions, missing information, broken permissions, duplicate orders, and confusing mobile layouts. Check what happens when a seller cancels or a payment fails.

Track whether participants can complete the central transaction successfully. Fix critical problems before expanding your audience. A limited launch with reliable workflows is more useful than a public launch filled with unfinished features.

Step 12: Attract Your First Buyers and Sellers

New marketplaces face a familiar challenge: sellers want customers, while buyers want enough attractive listings. Solve this problem by concentrating supply within a specific niche, geography, or use case.

Personally recruit early sellers and help them create high-quality listings. Then promote the marketplace through relevant communities, partnerships, referrals, and targeted content. A marketing funnel without code can organize visitor capture and follow-up communications.

Focus on marketplace liquidity: how often a relevant search leads to a suitable listing and completed transaction. Watch active listings, inquiry response times, conversion rates, repeat purchases, and cancellations.

Expand categories only after your initial market demonstrates consistent activity.

Common Mistakes to Avoid

Many founders overbuild before proving demand. Others neglect seller onboarding, underestimate payment complexity, or prioritize traffic over successful transactions. Avoid treating every platform feature as essential.

Another mistake is ignoring ongoing costs. Subscription upgrades, database usage, external automation services, payment fees, and customer support can significantly affect profitability.

Updates, security reviews, monitoring, and customer feedback remain necessary as the platform evolves.

Conclusion

Learning how to build a no-code marketplace starts with understanding people, not software. Choose a narrow niche, validate genuine demand, and select tools that support your specific transaction model. Build a focused MVP with reliable listings, clear permissions, practical payments, and straightforward user experiences.

Recruit supply deliberately, test every critical journey, and measure completed transactions rather than vanity metrics. With planning, no-code technology can help founders launch marketplaces while keeping development accessible and manageable.